Handcrafting Your Own Junk Journal Supplies
How to Make Homemade Glue for Your Crafting Projects
As an avid crafter and junk journaler, I’ve always been intrigued by the idea of creating as much of my supplies as I can from scratch. It not only adds a personal touch to my projects but also aligns with my goals of sustainability and reducing waste. One of the simplest and most useful recipes I’ve discovered in my crafting journey is for homemade glue. Not only is it eco-friendly and safe, but it’s also surprisingly durable and versatile, making it perfect for a wide range of projects, from scrapbooking to assembling your own junk journals. Here’s how you can make your own homemade glue with just a few simple ingredients.
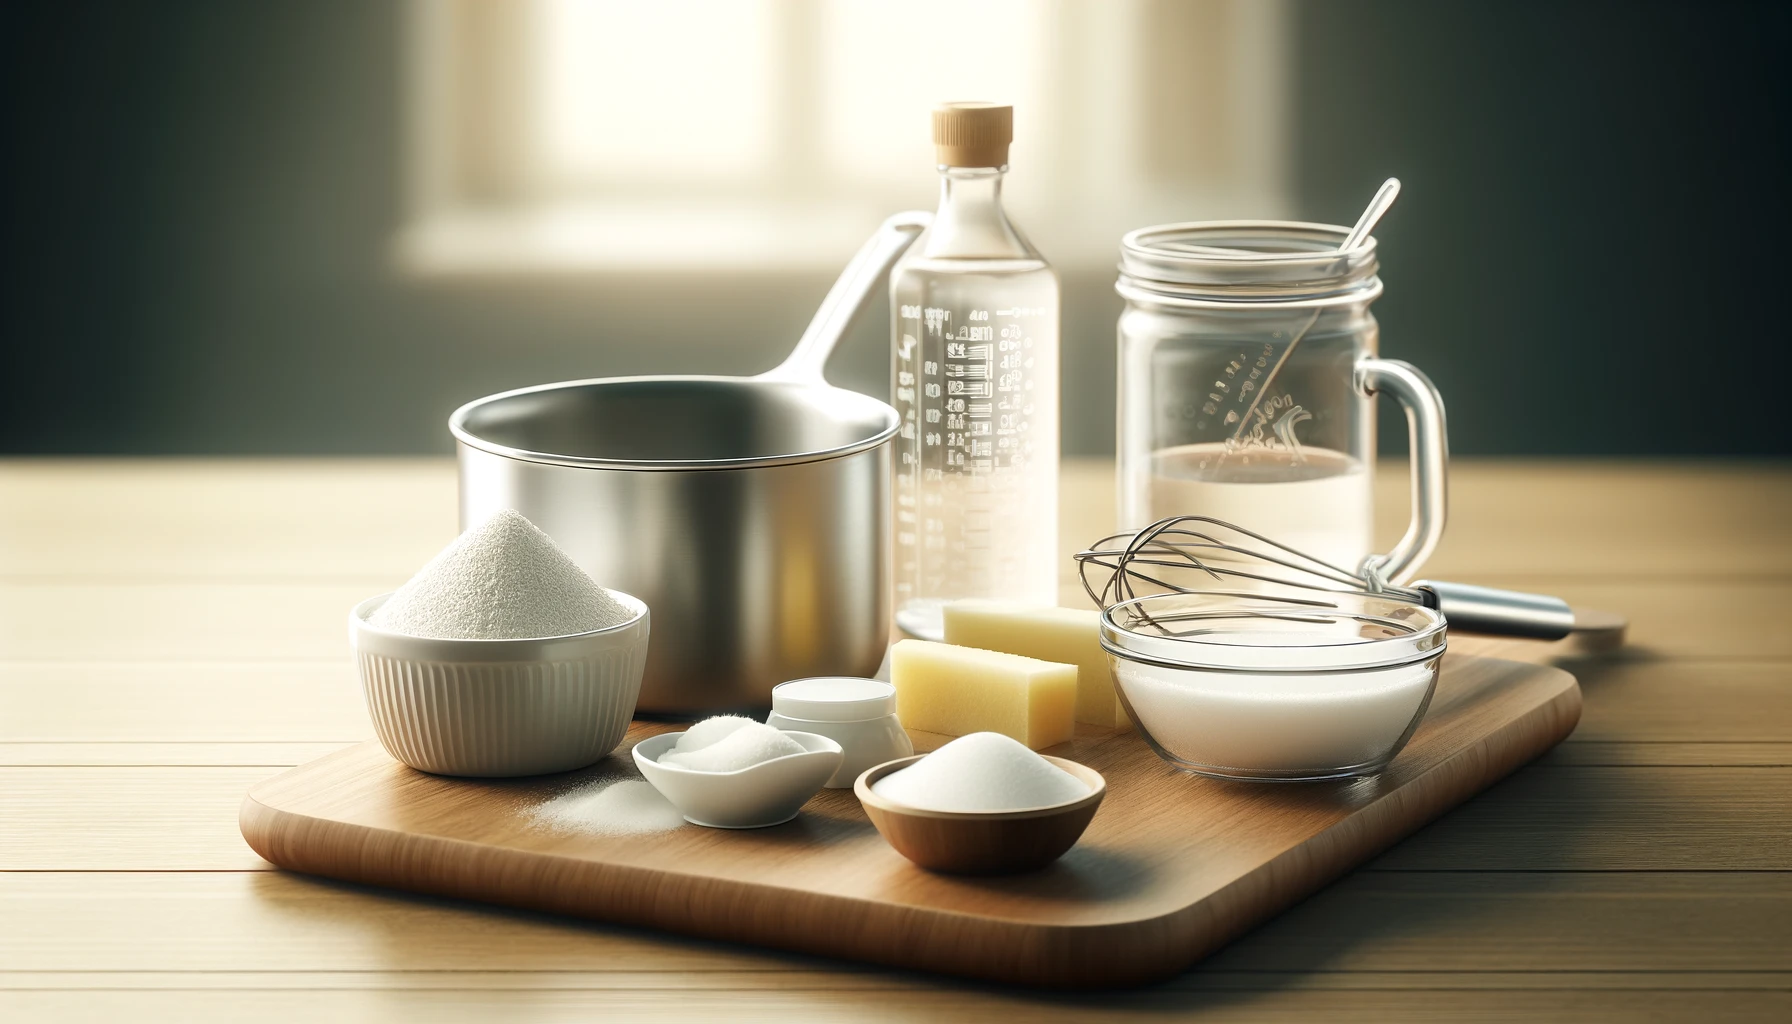
Ingredients:
- 1 cup of water (divided into ¾ cup and ¼ cup)
- 2 tablespoons of cornflour or wheat flour
- 1 tablespoon of sugar (optional, for added strength and flexibility)
- 1 teaspoon of white vinegar (acts as a natural preservative)

Instructions:
- Mix Your Ingredients:
- In a small saucepan, whisk together the cornflour or wheat flour with ¼ cup of cold water until smooth. The idea is to create a lump-free slurry that will blend easily with the rest of the water.
- Add Heat and Remaining Water:
- Add the remaining ¾ cup of water to the saucepan along with the sugar if you’re using it. Cook the mixture over medium heat, stirring constantly. The sugar not only helps the glue to be more flexible and strong once dried but also contributes to a smoother texture.
- Thicken the Glue:
- Continue to stir the mixture until it begins to thicken. This usually takes about 2 to 5 minutes. You’re looking for a consistency similar to that of commercial liquid glue; it should coat the back of a spoon but still be pourable.
- Add Vinegar:
- Once the mixture has thickened, remove it from the heat and stir in the white vinegar. The vinegar acts as a natural preservative, helping to extend the shelf life of your homemade glue.
- Cool and Store:
- Allow the glue to cool completely before transferring it to an airtight container for storage. A clean, recycled jam jar or a squeeze bottle can be perfect for this. The glue will thicken further as it cools.
- Use and Enjoy:
- Your homemade glue can be used just like any commercial glue in your crafting projects. Apply it with a brush or straight from the squeeze bottle. It works wonderfully for paper, photos, fabric, and even lightweight wood.
Tips for Success:
- Consistency Adjustments: If your glue is too thick after cooling, you can thin it by mixing in a little bit of warm water until you reach the desired consistency.
- Shelf Life: Thanks to the vinegar, your homemade glue can last for 1-2 months if stored in a cool, dark place. If it starts to smell off or shows signs of mold, it’s time to make a new batch.
- Customization: Feel free to experiment with your glue recipe. Some crafters add a few drops of essential oils for a pleasant scent or natural antimicrobial properties.
Creating your own homemade glue is not just a step towards more sustainable crafting; it’s also a fun experiment that can enhance your connection to your work. By making the very adhesive that holds your projects together, you’re truly putting a piece of yourself into everything you create. Happy crafting!
Up Next: Eco-Friendly Junk Journaling: Crafting with a Conscience