How I Made My Own Wool Pressing Mat: A Step-by-Step Guide with Tips
As a crafter and junk journal enthusiast, I love experimenting with DIY projects to save money and make my workspace more efficient. When I first heard about wool pressing mats and their benefits, I was intrigued but didn’t want to shell out the money for a commercial mat. So, I decided to make my own, and I can honestly say it was a rewarding and budget-friendly experience! Here’s how I did it—and how you can too.

Why Wool?
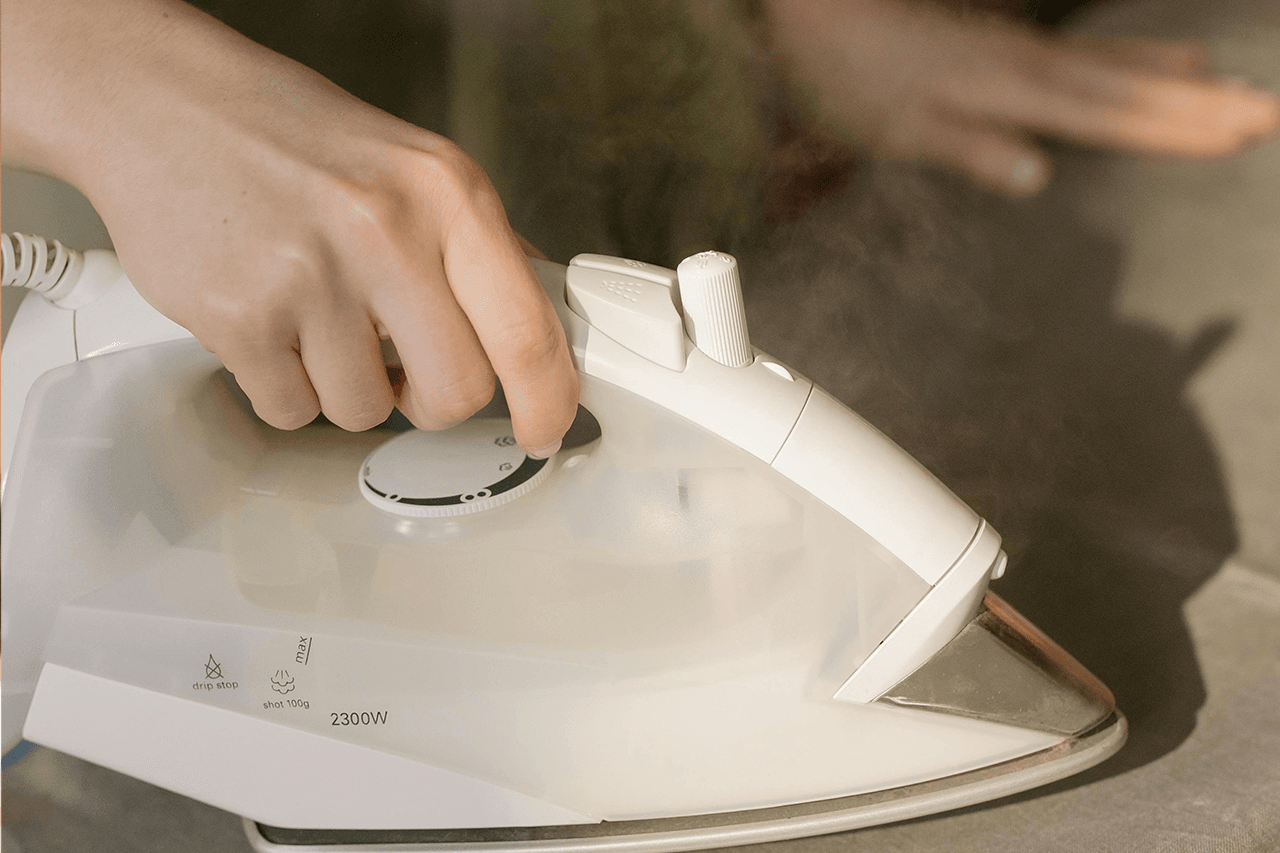
Wool pressing mats are excellent because they retain heat, allowing you to press your fabric from both sides simultaneously. This is especially useful for quilters and anyone looking to achieve crisp seams or smooth fabric quickly. After using mine, I noticed it gave a much cleaner press, reducing the time spent on ironing. Plus, it’s portable and easy to store!
My DIY Wool Pressing Mat: The Key Factors
1. Thickness Matters
One thing I learned right away is that thickness is crucial. Commercial mats are usually about 1/2 inch thick, which helps absorb heat effectively. I found some wool fabric at a local thrift store that wasn’t quite thick enough, so I had to layer it. I ended up using three layers to get the desired thickness, which worked out well.
Tip: If you’re using thinner wool like I did, don’t worry. Just stack and sew or felt the layers together until you reach about 1/2 inch. It really makes a difference!
2. Choosing the Right Wool
Not all wool is created equal. For pressing mats, felted wool is the best choice because it holds heat well and is more durable. My wool fabric wasn’t felted, so I decided to felt it myself. I washed the fabric in hot water and dried it on high heat to shrink and bind the fibers. This worked like a charm and gave me that dense, thick texture that’s perfect for pressing.
Tip: If you can’t felt the wool, simply layering it will do the job. I recommend using 100% wool for the best results, but if you’re unsure if the fabric is pure wool, I’ll share some tests below to help you figure it out.
3. Making the Mat Fit My Needs
I wanted something that wouldn’t take up too much space but would be large enough to handle most of my projects. I measured my available wool fabric and decided to go for a 12″ x 18″ size, which is perfect for small to medium-sized tasks like pressing seams on quilt blocks or flattening fabric for my junk journal projects.
Tip: Measure your workspace and decide what size works best for you. If you’re a quilter, you might want to go bigger—around 17″ x 24″. For smaller projects, a 12″ x 12″ mat could work just fine.
Transforming My Small Ironing Board into a Wool Pressing Surface
As part of my crafting, I also have two small ironing boards that I use on my worktable. These boards are great, but they didn’t quite have the heat-retaining power of a wool mat, so I decided to cover one with wool. The result? It worked beautifully!
Here’s How I Did It:
- Prepping the Board I removed the existing cover and padding from one of my small ironing boards. The padding was still in decent condition, so I left it there for a little extra cushion.
- Cutting the Wool I measured my ironing board and cut the wool fabric large enough to cover the surface, leaving about 2 inches on each side to wrap around the edges. I ended up using three layers of wool to get that perfect 1/2 inch thickness.
- Securing the Layers Using a staple gun, I tightly stretched the wool fabric over the ironing board and secured it underneath. I also stapled the layers together to ensure they didn’t shift during use.
- Adding a Cover (Optional) I decided to add a heat-resistant cotton fabric over the wool to protect it from any dirt or fabric dyes. It also made the surface easier to clean.
Tip: If you don’t have a staple gun, you can use strong fabric adhesive to secure the wool in place. Just make sure the wool is stretched evenly over the surface.
How to Tell if Your Wool Is 100% Wool

If you’re like me and found your wool at a thrift store, it can be tricky to tell if it’s 100% wool. Here are a few tricks I used to check mine:
1. The Burn Test
I took a tiny piece of the fabric and carefully held it near a flame. Pure wool smells like burning hair (thanks to the keratin in the fibers) and leaves behind crumbly ash. If the fabric melts or smells like plastic, it’s probably synthetic.
2. Water Test
I soaked a piece of fabric in warm water. Wool has a very distinct “wet animal” smell when soaked, which was another clue that my fabric was real wool.
3. Feel and Stretch
Wool feels warm and textured, not smooth or shiny like synthetic blends. I also noticed that pure wool tends to resist stretching compared to synthetics, which was another indicator I was working with the real thing.
The Results
After making my own wool pressing mat and transforming my small ironing board, I’ve been using them both regularly, and they’ve made such a difference in my crafting routine. Pressing seams is quicker and more efficient, and I love how portable they are. Whether you want to make a stand-alone mat or convert an ironing board like I did, it’s definitely a project worth trying!

Final Thoughts
Creating your own wool pressing mat is a fun, cost-effective project that can improve your crafting and sewing. By using thrifted wool fabric and a few simple techniques, you can get the same benefits as a store-bought mat without the high price tag. Plus, it’s customizable—you can make it to fit your exact needs and workspace.
If you decide to try this DIY project, let me know how it goes! I’d love to hear about your experience and any tips you discover along the way.
Happy crafting!